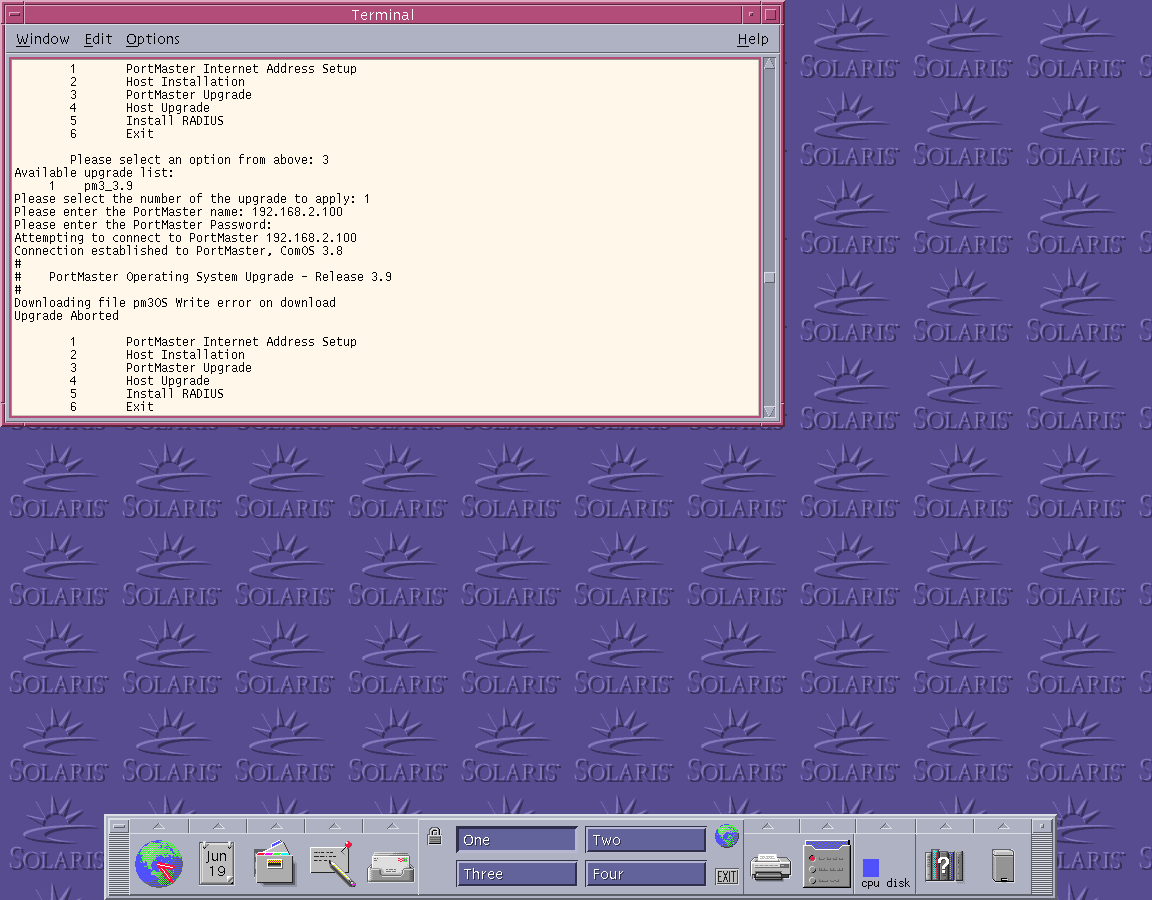
Connection established
Finally. After a lot of waiting and work, the internal access server is now up and running!
Unexpectedly, the Portmaster 3 boards that are T1-based arrived a month early. I received them three days ago and my first attempt was to just throw in the T1 card into the E1 unit and use that rather than flash the NAND chip that holds the user configuration on the T1 unit. As fate would have it, the card did not seem to work at all in the E1 unit. It was recognised, but as an E1 card for some reason. This was after troubleshooting why the E1 unit didn’t boot properly and kept complaining about the NAND being corrupt in some form. I ended up desoldering the sockets that took so much time to install as the joints just weren’t any good and opt for soldering the NAND chips back on directly. I need to revisit PLCC sockets and try to solder them in a more reliable way in the future. The E1 mainboard has been so overworked that I just didn’t want to risk damaging the pads.
This is what I was getting when trying to flash the E1 unit when the socket wasn’t correctly soldered.
After blanking the configuration segments of the NAND (located on the chip further away from the edge of the board at segments 5 and 6), risking corrupting the OS install as from ComOS version 3.8 the user configuration segments on the NAND was reduced to one instead of two, the T1 mainboard was installed into the chassis and power was applied. The unit complained about a corrupt install, but it didn’t matter as the user configuration being blank meant that there wasn’t a password set and the default blank one could be used.
It took all of two hours to desolder the NAND, read it, deliberate over if blanking both segments instead of the one was going to be a problem, flash it, resolder it, triple-check the pin connections, and perform the ComOS upgrade.
It was at this point in time that I returned to reading the PDF from the Katana SDK to make that connection that I’ve been waiting for so long to establish.
I followed it through and… nothing.
Not a damn thing happened.
I checked and rechecked everything.
There was one command that wasn’t correct in the document, so I figured that there may be more to configure. Luckily it was very obvious after some poking around at the Adtran 600. Yes, it turned out that when the DS0 map was created all the FXS ports were not assigned. I looked over the instructions again and couldn’t find any reference to this one major point. Either way, I’m glad it was simple to track down.
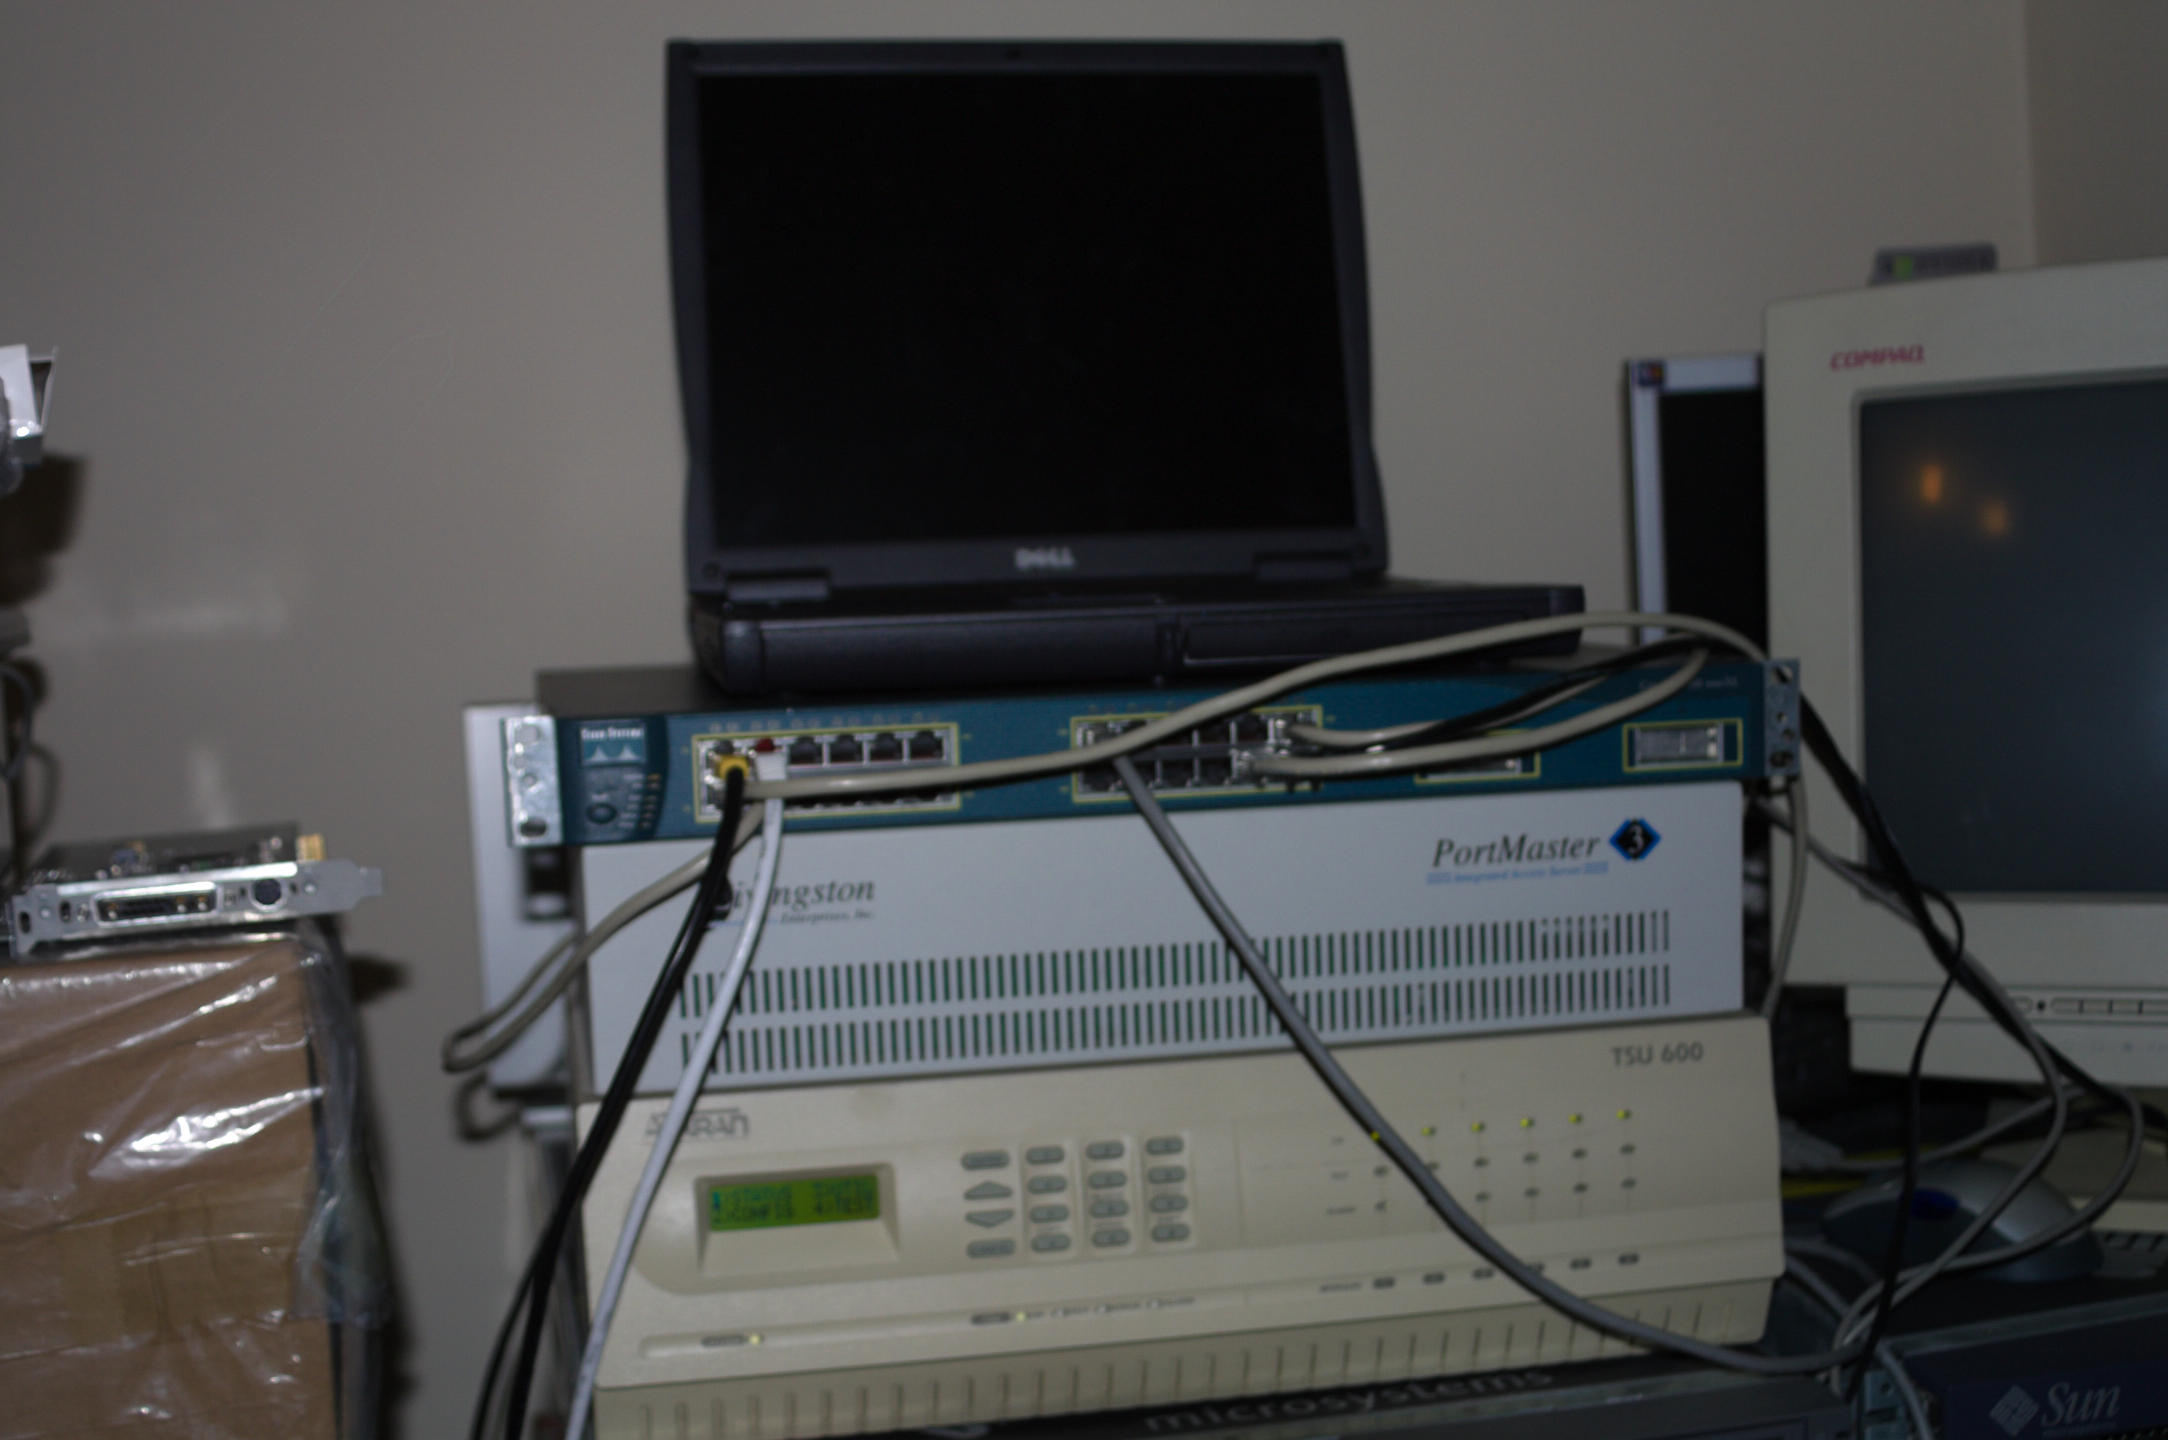
Here’s what the whole stack looks like right now. It’s pretty messy and not rackmounted, yet.
The next step is to figure out how I’m going to go forward with testing the game from a multiplayer perspective. There are a few options open: the first is to buy a whole bunch of optical drive emulators and fit them into the retail kits I have available, which would be very costly for 25 units. The second is to buy a bunch of SD card adapters for the serial interface. This isn’t ideal, as I’d like to be able to use the serial port on the retail kits to help with debugging. The last method I can think of is the tried-and-true burnt CD method. With GD-ROM drives failing and becoming more and more scarce every time they get thrown away, the uncertainty of CD-R media being available in the long-run, and the clutter and time of burning another CD to test a change might get out of hand quickly. The last option is to create an accessory for the Dreamcast that I’ve been thinking of for years. It’s effectively like the ill-fated Zip drive that would have been used for DLC. Rather than using the built-in modem of the Dreamcast; an Ethernet adapter, combined with an FPGA to allow games that only support the modem to create a self-contained PC<->DC server, with an M.2 drive (yes, I know this isn’t period-correct at all) for downloadable content/games would be installed into the units. This does fly in the face of the efforts made for the integrated access server but, realistically, time and money aren’t unlimited.
For the time-being, I think I’ll be going with the CD-R method and limiting the testing to three retail units (two modem-based, one with a BBA) along with the development kit. Currently, I have four retail units and one has a bad GD-ROM drive. Unfortunately, it happens to be the first Dreamcast I owned that was purchased shortly after launch, a pretty rare unit with no SEGA branding or “Compatible with Windows CE” printed on the front.