Working on materials
Recently I’ve playing way too much Death Stranding and not spending enough time on Shambler. Today I finally got started in earnest on the material system. Last night I spent a few hours learning how to get StudioPaint to assign one texture to multiple meshes as well as “properly” unwrap the UVs. There are many things left to learn in that field. When I started painting on the model, I knew that the UVs were all messed up by using planar projection and lazily unwrapped them after the fact which results in very ugly looking UVs.
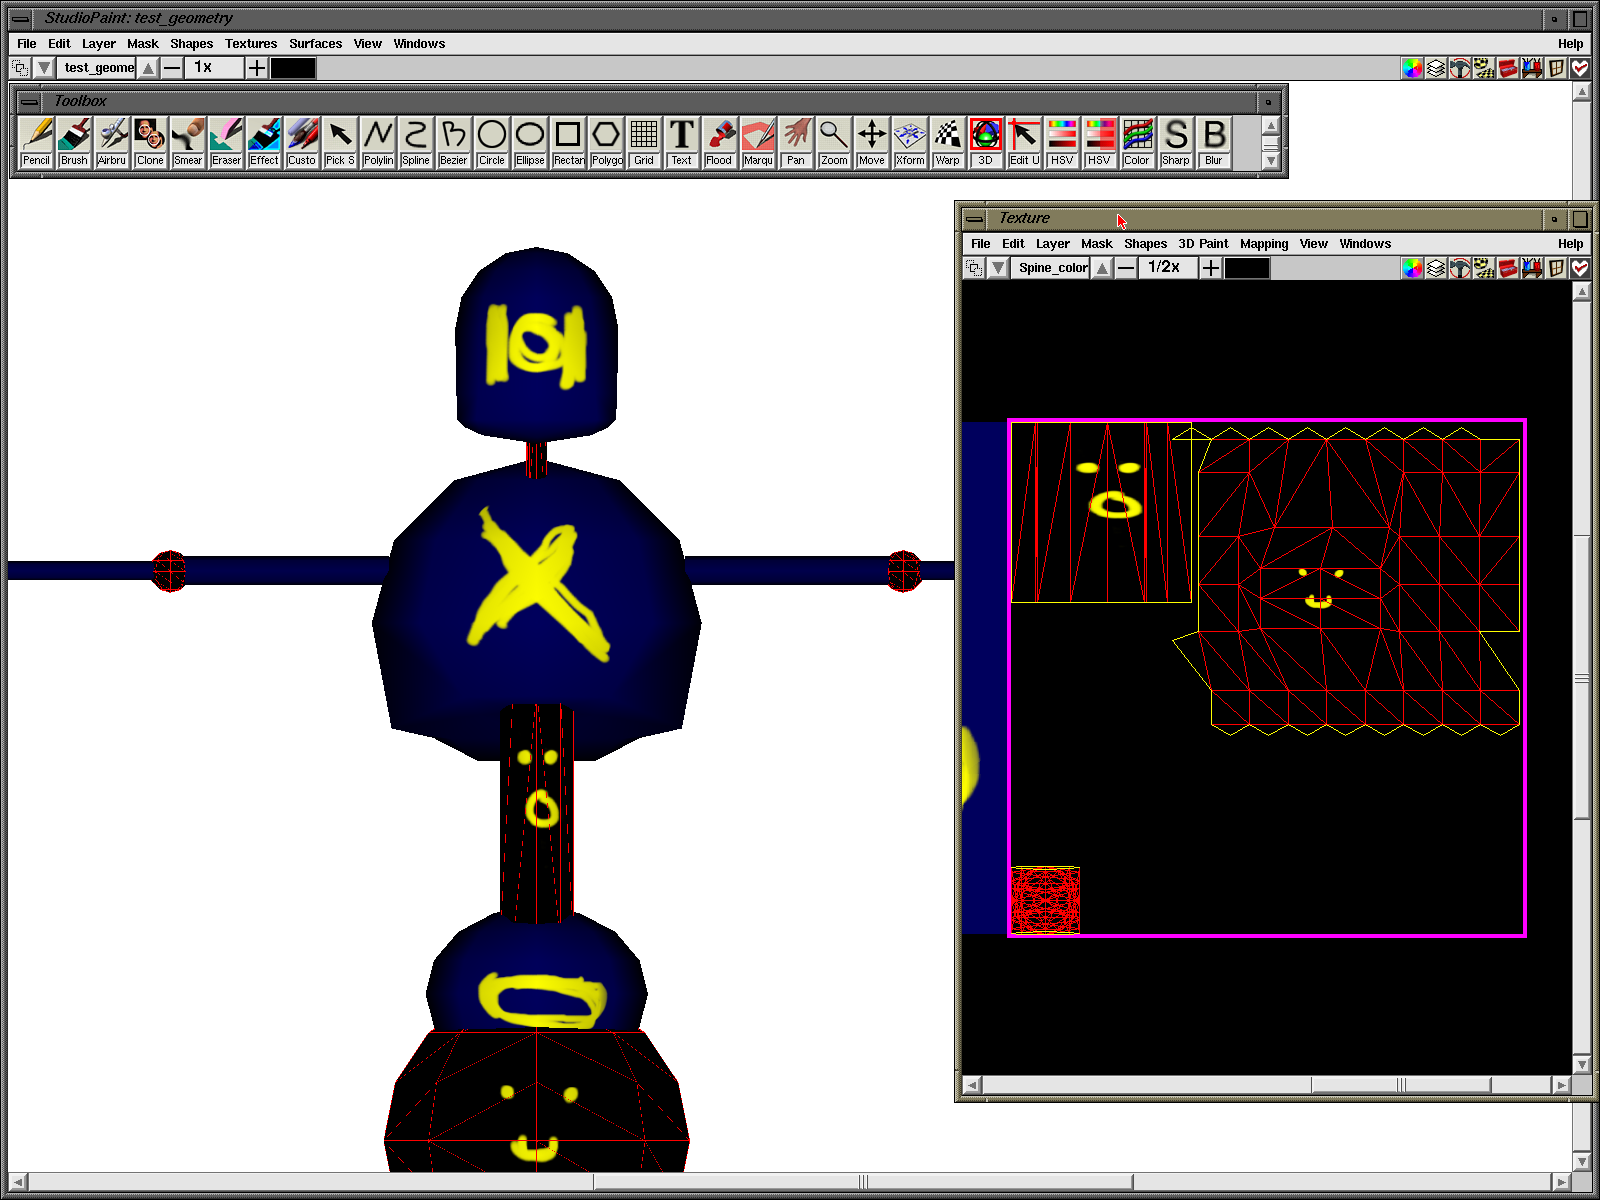
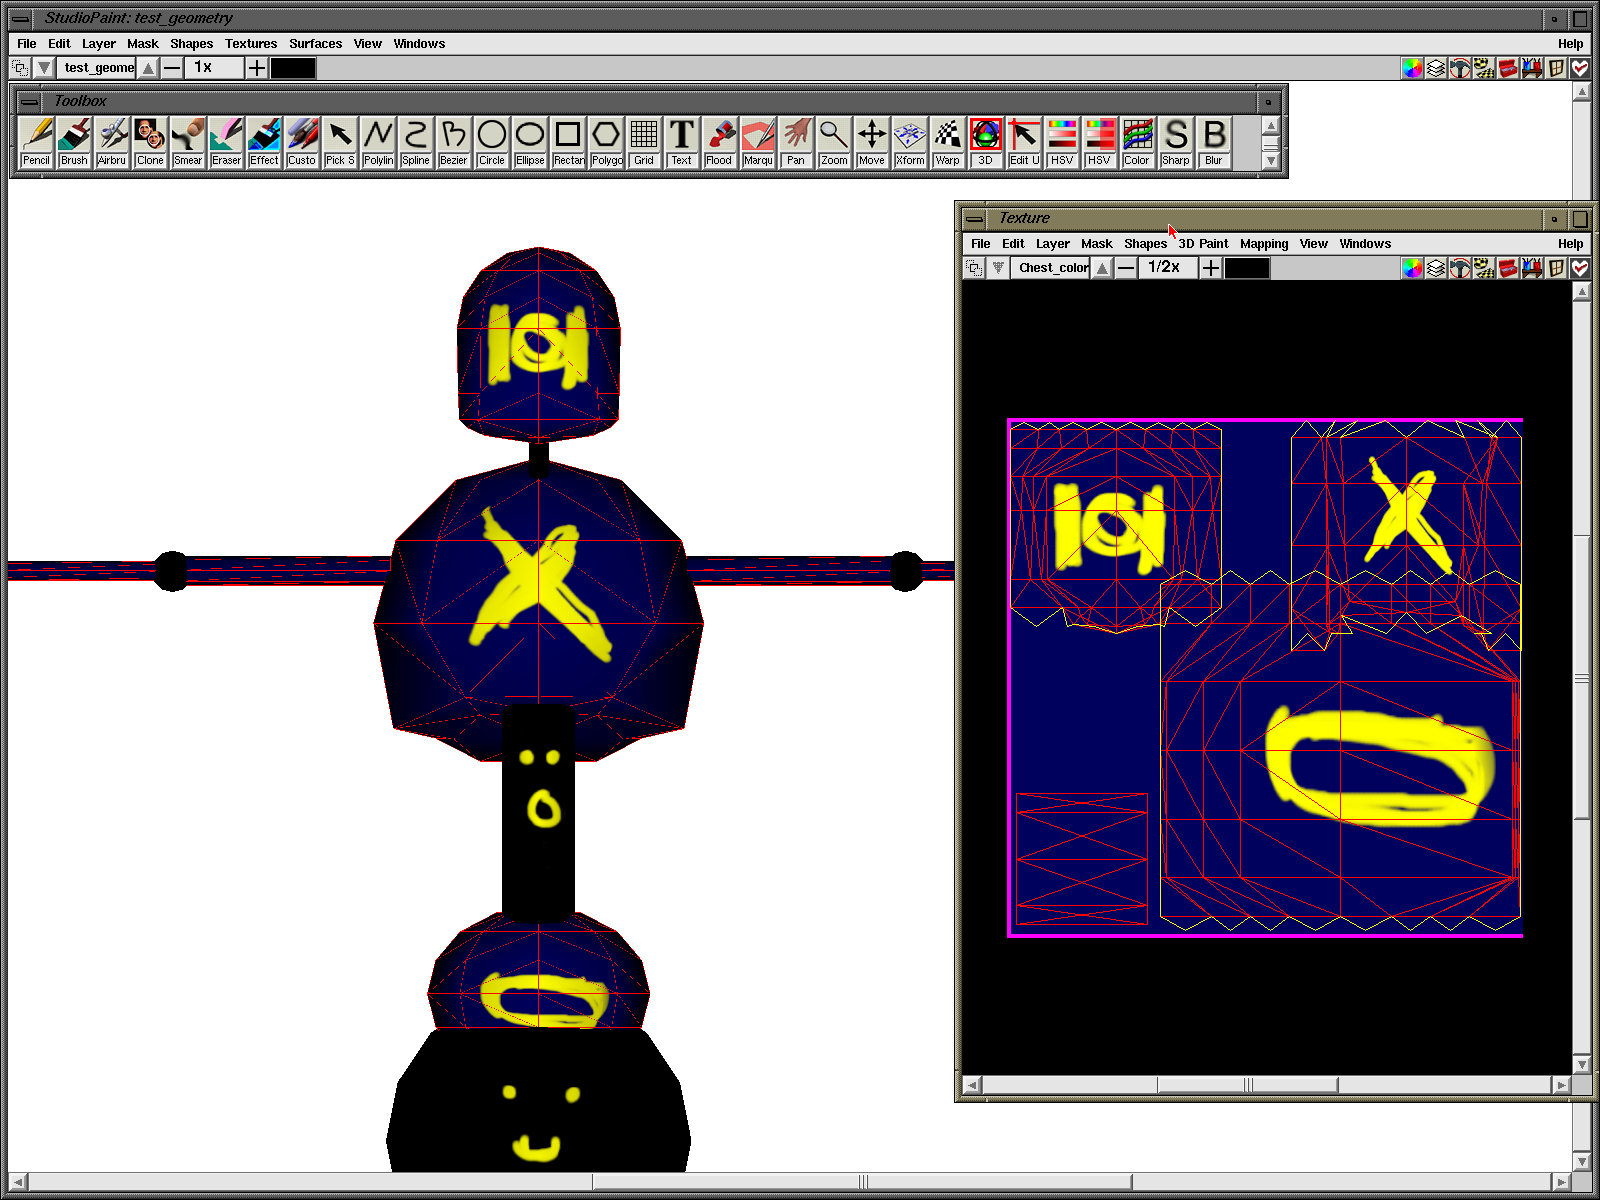
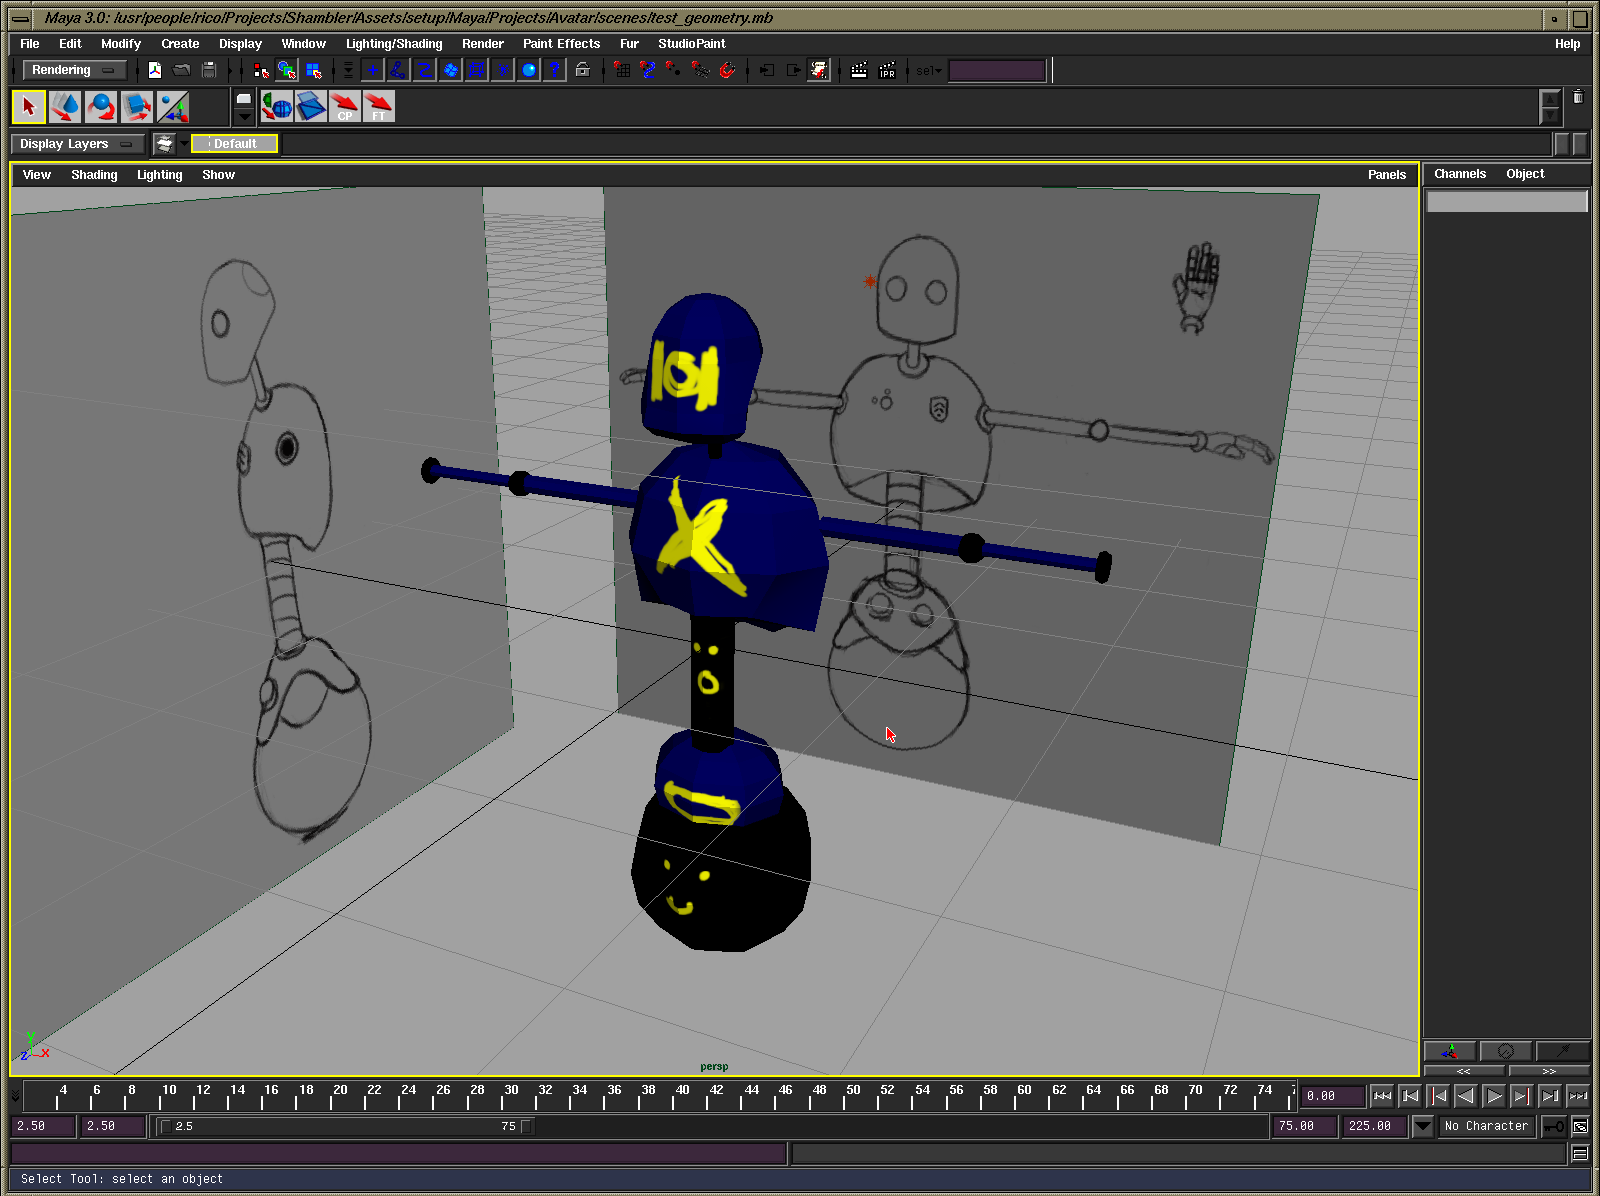
The whole experience taught me a lot about the whole 3D content creation pipeline for this project. In some respects it will be easier than I thought. At the moment the textures are being assigned manually rather than as a part of the export process. Initially, I was going to create a skinned model with two or three meshes. Unfortunately, my drawing skills and 3D modelling skills aren’t quite up to it, so I opted for a simple robot model. There are two things that will end up needing multiple weights for the joints in the final model which are the spine and hands. Before progressing with the full model, I made a very rough cut of it to get started with the texturing and rigging so the hands are missing and the polygon count is lower than what I’m aiming for with this test character.
There are two materials so far, a matte one for the joints, roller ball, spine and a metal one for everything else. I haven’t decided on if there will be other details with other materials, yet, as the eyes are using the same metal surface with no extra geometry. Taking the information from Maya and setting up how the material will be rendered on the kit or foregoing that and using the editor to set up those parameters is something I’m still tackling. It would probably be best to just rely on the editor to set that information and expose the material’s properties from the model by using the shading groups already present.
Another thing that I’m considering is how to handle resizing textures. The models use 1024x1024 textures to maintain as much detail as possible before downscaling to a set of 256x256 or lower textures. In their raw form, they’re SGI textures (I’ve chosen that format as it’s very easy to deal with, plus it has that SGI cool factor) which are also supported by ImageMagick and paintlib. Unfortunately, ImageMagick seems to be impossible to get working on Windows due to the source code no longer being available from that far back. paintlib seems like a good alternative in lieu of ImageMagick. For now, I’ve been using the GIMP to take care of resizing reponsibilities. Another thing to do is to either flip the UVs during the export of the model or flip the texture after it’s been resized. I’m swaying more to the former option. When it comes to looking at the textures later, it would make more sense for them to be in the correct orientation.
Something I don’t think I’ve mentioned is that I started using the Debug Adapter in the Katana to control it. I’ve had this present in the code since the beginning but haven’t used it mainly because it’s very poorly written and unoptimised for shifting data like I want to. It’s fine for sending messages, though, so that’s what it’s doing right now. The debug overlay and other information is controlled from the Windows workstation. I can even set the clear colour from the built-in Windows colour dialogue box, which is usually the first thing I like to get working when remote tools are brought online. That aside; the debug information can be toggled on and off for the aforementioned debug text overlay, mesh wireframe, points and normals, and toggling supersampling (which currently breaks the 2D elements, such as screen-space text and the pixel drawing functions). This will be expanded to include the skeleton when the model is rigged. I’ll also be adding in a command console and when I have the time to figure out the bandwidth problem (it should be possible to load areas of the scenario and live update) add in the ability to jump around the game world to help with debugging.
Here’s a video of the latest: